
You don’t need a sprawling backyard to grow your own tomatoes, herbs, or flowers. Container gardening transforms any small space into a productive garden, whether you’re working with a cramped apartment balcony, a sunny front porch, or a tiny urban patio. The beauty of this approach lies in its accessibility: you control the soil quality, move plants to follow the sun, and sidestep common ground-soil problems like poor drainage or stubborn weeds.
If you’ve hesitated to start gardening because you lack yard space or feel overwhelmed by traditional gardening advice, containers offer a forgiving entry point. Workshop attendance data from community gardens across North America shows a 340% increase in beginner container gardening classes during 2026, reflecting a growing recognition that limited space shouldn’t limit your growing ambitions.
Starting your first container garden requires just three essentials: appropriate containers with drainage holes, quality potting mix formulated specifically for containers, and plants suited to your available light conditions. You’ll discover quickly that container gardening rewards experimentation. Mix edibles with ornamentals in a single pot, create mobile displays that shift with the seasons, or design vertical arrangements that maximize your square footage.
This guide walks you through every decision, from selecting your first containers and choosing beginner-friendly plants to mastering the watering rhythm that keeps container gardens thriving. You’ll gain the confidence to transform empty corners into green, productive spaces that reflect your personal style.
Why Container Gardening Is Perfect for Beginners in 2026
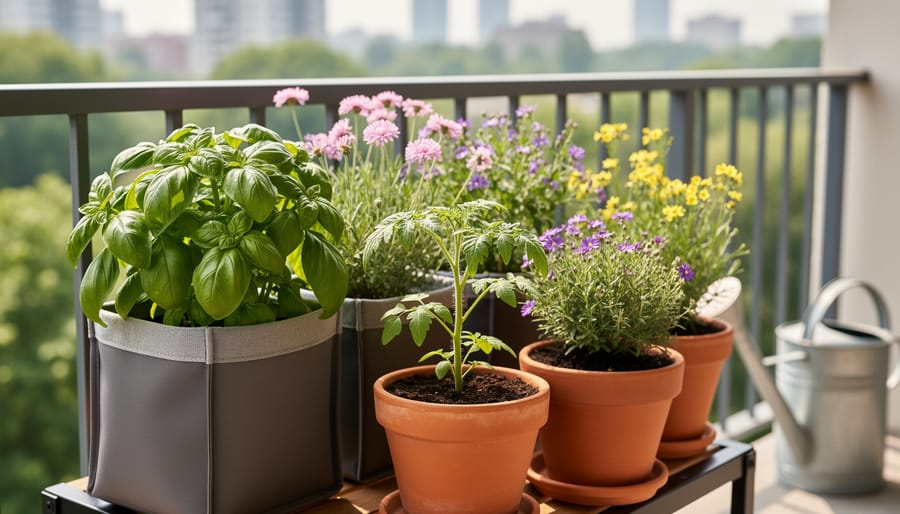
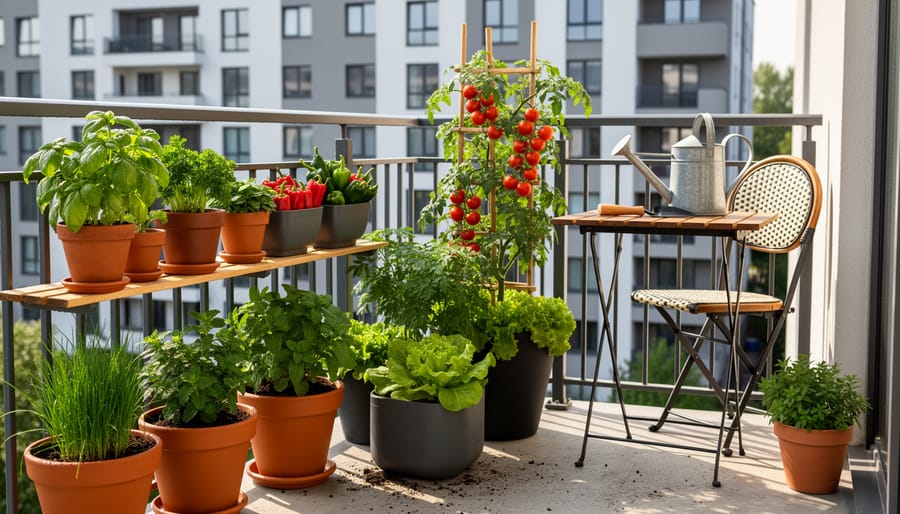
Container gardening has hit a tipping point in 2026, and it’s not hard to see why beginners are flooding into workshops and snapping up supplies. The shift toward urban and apartment living means millions of people want to grow plants but have zero access to traditional garden beds. A balcony, patio, or sunny windowsill is all you’ve got, and container gardening turns those spots into productive, beautiful growing spaces.
Renters love containers because you can take your entire garden with you when you move. No heartbreak over leaving behind perennials you spent years establishing. Your pots pack up and relocate as easily as your furniture, making container gardening the only realistic option for people who don’t own their outdoor space.
The creative control is where container gardening gets genuinely exciting. You’re not stuck with the soil you inherited or the layout someone else designed. Every pot is a blank canvas. You choose the size, the style, the color palette, and which plants share the space. Containers become sculptural elements in your outdoor area, blending form and function in ways that static garden beds can’t match. A well-chosen pot elevates the plants inside it while making a statement about your design sensibility.
This accessibility explains why community programs are expanding fast. Free beginner workshops like the Lake Simcoe South Master Gardeners event (starting Wednesday, May 13 at 10 a.m., registration required) are filling up because people recognize container gardening as their entry point. You can start small with one pot, test your interest, and expand as your confidence grows. For creative container ideas that push beyond basic planters, you’ll discover containers work as both gardens and outdoor art installations.
What You Actually Need to Get Started (No Guesswork)
Choosing the Right Containers
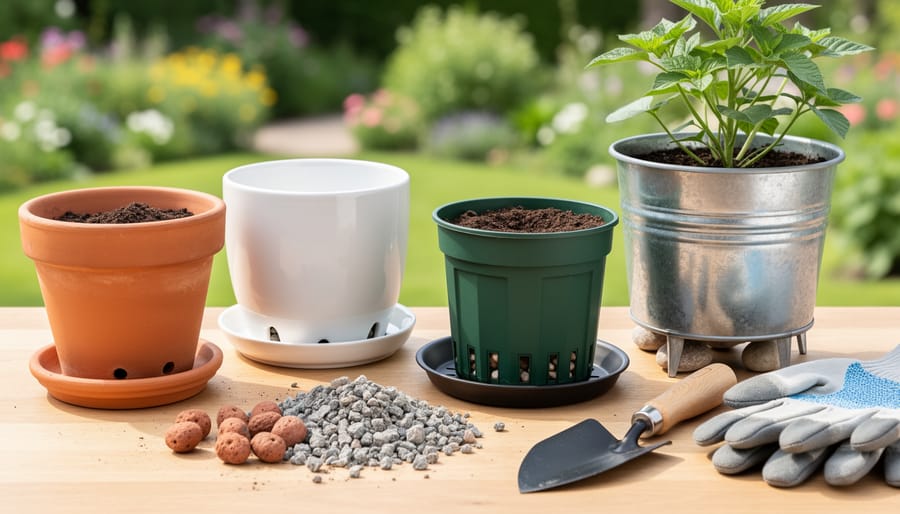
Your container is more than just a plant holder, it’s the foundation of your garden’s success. The right choice depends on three factors: material, size, and drainage.
Terracotta pots breathe beautifully, which prevents overwatering, but they dry out faster and crack in freezes. Plastic containers hold moisture longer and cost less, perfect for thirsty plants or if you travel frequently. Ceramic pots offer gorgeous designs but add weight, making them ideal for permanent placements rather than movable arrangements. Fabric grow bags have exploded in popularity for vegetables because roots air-prune themselves, creating healthier plants.
Size matters more than beginners realize. A single tomato plant needs at least a 5-gallon container, while herbs thrive in anything 6 inches deep or more. Cramped roots mean stunted growth and constant watering headaches.
Here’s the non-negotiable: all containers need drainage holes. Without them, water pools at the bottom, roots rot, and your plants die no matter how carefully you tend them. If you fall for a pot without drainage, drill holes yourself or use it as a decorative outer sleeve for a functional inner pot.
The Soil Situation: Why Potting Mix Matters
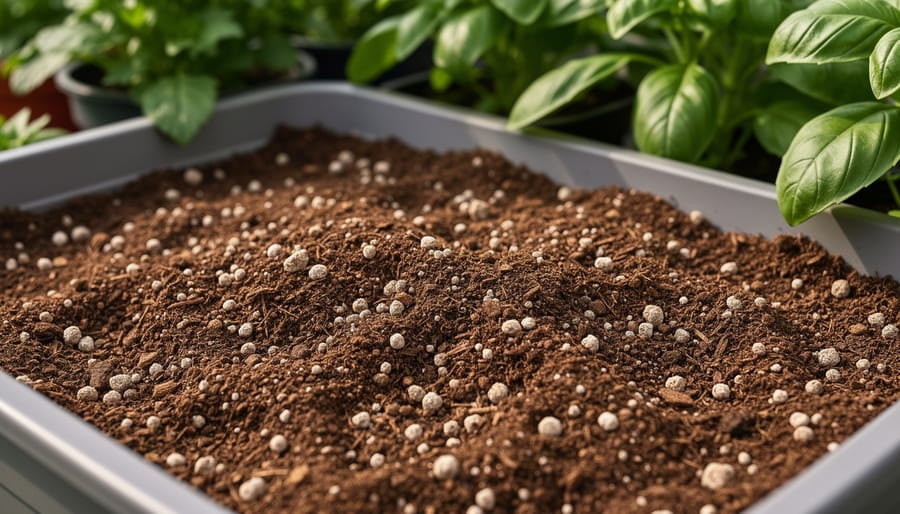
Garden soil seems like the obvious choice for containers, but it’s actually a setup for failure. Dig up dirt from your yard and pack it into a pot, and you’ll end up with a waterlogged, compacted mess that suffocates roots. Container plants need potting mix for containers a specialized growing medium engineered to thrive in confined spaces.
Quality potting mix combines peat moss or coconut coir (for moisture retention), perlite or vermiculite (for aeration), and often composted bark (for structure). This blend stays light and fluffy even when wet, allowing roots to breathe while holding enough water to sustain plants between waterings. Garden soil, by contrast, turns dense and airless in containers, blocking oxygen and drowning roots.
The difference isn’t just academic, it determines whether your first container garden flourishes or flops. If you want to understand more about soil fundamentals, check out soil 101. For containers specifically, invest in bagged potting mix from a garden center. Your plants will reward you with vigorous growth from day one.
Beginner-Friendly Plants That Actually Thrive in Containers
Starting with herbs gives you near-instant gratification. Basil thrives in containers with at least six hours of direct sun and consistently moist (not soggy) soil. Pinch off the growing tips weekly to keep it bushy. Mint grows so aggressively that containers actually contain it, a good thing. Give it partial shade and regular water, and it’ll reward you abundantly. Parsley tolerates some shade and forgives irregular watering better than most herbs, making it ideal if you’re still developing your plant-care rhythm.
For edibles with real visual impact, cherry tomatoes are surprisingly forgiving in large containers (at least 14 inches deep). They need full sun and daily watering during summer, but watching tiny green orbs ripen to red becomes addictive. Lettuce works beautifully in shallow containers, grows quickly in partial shade, and you can harvest outer leaves while the plant keeps producing. Peppers (especially compact varieties) handle container life well in full sun with moderate watering, though they’re slower to produce than tomatoes.
Flowers bring instant color and most forgive beginner mistakes gracefully. Petunias bloom relentlessly in full sun as long as you water them regularly and deadhead spent flowers. Marigolds practically thrive on neglect, full sun, occasional watering, and they’ll bloom for months. Pansies offer cool-season color (spring and fall in most climates), prefer partial shade, and tolerate cold better than heat.
For statement-making plants that anchor a design, consider ornamental grasses like fountain grass (full sun, moderate water) or coleus with its spectacular foliage in shade to partial sun. Both create height and drama while remaining low-maintenance. Sweet potato vine cascades beautifully over container edges in full sun, growing vigorously with minimal care.
Match your plant choices to your actual light conditions, not what you wish you had. A shady balcony won’t suddenly grow sun-loving tomatoes well, but it’ll grow spectacular coleus and lettuce.
Planting Your First Container: A Simple Step-by-Step
You don’t need a gardening degree to plant a container successfully. The actual process is straightforward once you understand the basics, and getting your hands dirty for the first time is less daunting than you might think.
Start by assembling everything you need in one spot: your container, potting mix, plants (still in their nursery pots), and a watering can. Working on a tarp or old sheet makes cleanup easier and keeps soil contained.
- Cover your container’s drainage holes with a coffee filter or small piece of newspaper to prevent soil from washing out while still allowing water to drain freely.
- Fill the container about two-thirds full with potting mix, leaving enough room for your plants’ root balls plus an inch or two below the rim for watering space.
- Arrange your plants (still in their pots) on the soil surface to test spacing before committing. Leave at least two to three inches between plants for airflow and growth, though you can go slightly tighter for an instantly full look.
- Remove each plant from its nursery pot by tipping it sideways and gently squeezing the sides. If roots are circling tightly around the bottom, use your fingers to tease them apart, this encourages outward growth in their new home.
- Set each plant so its soil surface sits level with or slightly below the potting mix in your container, never burying stems deeper than they grew originally. Add or remove mix underneath as needed to achieve the right height.
- Fill in around the root balls with more potting mix, pressing gently to eliminate air pockets but not compacting the soil heavily.
- Water thoroughly until you see moisture draining from the bottom holes. This first watering settles the soil, establishes contact between roots and their new environment, and identifies any dry spots that need more mix.
Place your finished container in its intended spot right away if possible. Moving a freshly watered large pot later becomes unnecessarily heavy work.
The potting mix will settle slightly over the first week. If the level drops more than expected, top it off with fresh mix to maintain that crucial inch of watering space below the rim. This small buffer prevents runoff and gives you room to add a layer of mulch later if desired.
Ongoing Care: The Daily and Weekly Rhythms
Container gardens aren’t quite autopilot, but they settle into rhythms that become genuinely satisfying. Check your pots daily, especially in warm weather. Poke your finger an inch into the soil, if it feels dry, water deeply until it drains from the bottom holes. Containers dry out faster than ground beds because roots can’t spread wider for moisture, so surface dryness happens quickly.
Water in the morning when you can. Evening watering works too, but morning gives foliage time to dry, reducing disease risk. Our watering tips cover the finger-test method and recognizing wilting versus overwatering, both common beginner pitfalls.
Start feeding about four weeks after planting, once your plants have settled. Container soil gets depleted faster than garden beds since nutrients wash through with each watering. A balanced liquid fertilizer every two weeks keeps most containers happy. If you’re new to feeding plants, our guide to beginner fertilizers explains N-P-K numbers and application rates without the chemistry degree. Alternatively, mix slow-release granules into your potting mix at planting and refresh midseason, simpler for people who forget the biweekly routine.
Deadheading spent flowers takes seconds and doubles your bloom time. Pinch or snip off faded blooms where they meet the stem, redirecting plant energy toward new flowers instead of seed production.
Watch for yellowing leaves, stunted growth, or holes, early warnings of pests or deficiencies. Most problems stay manageable when caught within days, not weeks.
These small actions create a morning coffee ritual: water, check, pinch, admire. You’ll notice tight buds that opened overnight, a pepper that doubled in size, new shoots reaching upward. The attention containers demand becomes the whole point, daily evidence that something’s growing because you tended it.
Creative Design Ideas to Make Your Containers Art
Container gardening doesn’t stop at function. Once you’ve mastered the basics of keeping plants alive, you can transform your pots into genuine works of garden art. The classic “thriller, filler, spiller” formula gives you a reliable framework: place one tall, eye-catching plant at the center (your thriller), surround it with mid-height plants that fill the middle space (your fillers), and edge the container with trailing plants that spill over the sides (your spillers). This three-tier approach creates visual depth and movement in a single pot.
Color coordination matters more than you might think. Choose a palette before you shop, maybe soft pastels with silvery foliage, or bold jewel tones against dark leaves. Repeating one or two accent colors across multiple containers ties your collection together, while varying container heights creates a dynamic display even if your plant choices stay simple.
The container itself can be your canvas. An aged copper planter becomes sculptural against soft greenery. A grouping of mismatched vintage pots tells a story. Even budget-friendly plastic containers gain character when clustered by size or painted in a cohesive color scheme.
Don’t be afraid to break the rules once you know them. A single dramatic succulent in an oversized bowl can be more striking than a crowded arrangement. Mix edibles with ornamentals, purple basil plays beautifully with pink petunias. Your containers reflect your taste, so experiment until you land on combinations that make you smile every time you step outside.
Learning Opportunities and Community Resources
You don’t have to figure container gardening out alone. The 2026 boom has sparked free workshops and hands-on learning events across the country, making it easier than ever to learn from experienced gardeners.
| Event | Date & Time | Organizer | Registration |
|---|---|---|---|
| Container Gardening for Balconies, Patios & Windowsills | Wednesday, May 13, 10:00 AM | Lake Simcoe South Master Gardeners | Free for adults, registration required |
| Beginner Container Gardening Workshop | June 22, 6:30 PM – 8:00 PM | Town of Glastonbury, CT | Registration required |
These represent just a snapshot of what’s happening. Master Gardener programs in your area often run beginner-focused sessions throughout the growing season. Check your local extension office or search for Master Gardener chapters near you.
Online communities offer year-round support too. GardenSculpt connects container gardeners who see their pots as both functional and artistic, sharing design ideas alongside practical advice. You’ll find troubleshooting help when your basil starts yellowing and inspiration when you’re planning your next creative combination.
The best part? Container gardening attracts generous teachers. Experienced gardeners remember their first uncertain attempts and genuinely want to help you succeed. Whether you join a physical workshop or connect through an online forum, you’re tapping into collective knowledge that turns trial-and-error into confident growing.
You’ve got everything you need to start your first container garden this week. A decent-sized pot, quality potting mix, a plant or two that excites you, and about 20 minutes to get your hands dirty. That’s the entire barrier to entry.
The beauty of container gardening in 2026 isn’t just the accessibility. It’s the creative freedom to design something uniquely yours, whether that’s a windowsill herb collection or a balcony transformed into a sculptural garden statement. Every container becomes a small-scale project where you control the outcome, learn through direct observation, and adjust as you go.
You’re not doing this alone. The surge in beginner workshops, active online communities, and resources like GardenSculpt means you’ve got support when questions arise. Start with one container. Pick something that genuinely appeals to you, not what you think you should grow. Plant it properly, water it consistently, and watch what happens.
The perfect time to start isn’t when you’ve researched every variable or acquired the ideal setup. It’s now, with what you have, taking the first practical step. Your first container might not be perfect, but it’ll teach you more than any amount of additional reading. Get started this week.