
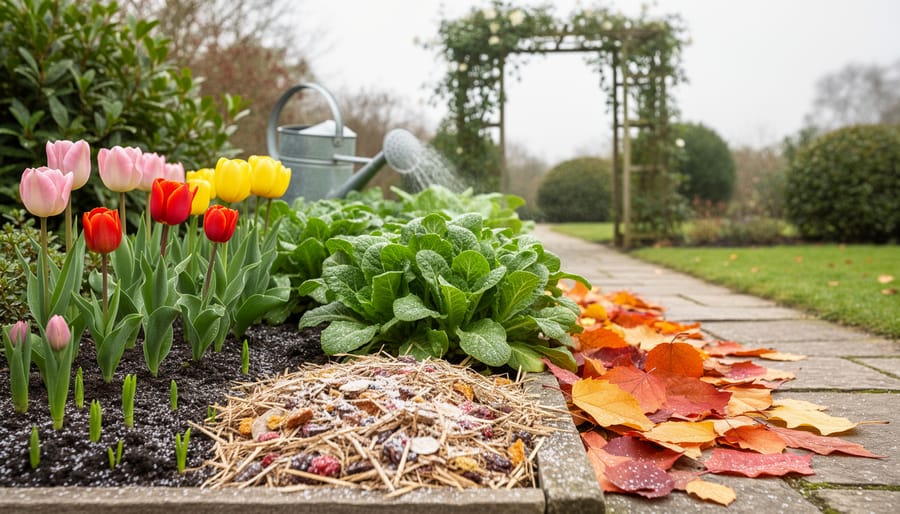
Seasonal gardening transforms your outdoor space by aligning every planting, pruning, and care decision with nature’s rhythm, ensuring healthier plants, less wasted effort, and beautiful results year-round. Instead of guessing when to divide perennials or wondering why your spring bulbs flopped, you’ll follow a clear roadmap that tells you exactly what to do in each season and why it matters.
The secret isn’t just knowing that tomatoes need warm soil or that tulips go in during fall. It’s understanding how each season offers distinct opportunities to sculpt your garden into a living work of art. Spring’s burst of energy makes it perfect for aggressive planting and soil prep. Summer demands strategic watering and deadheading to keep displays vibrant. Fall is your best friend for root development and garden restructuring. Even winter, often dismissed as downtime, lets you plan, protect, and prepare.
This year-round approach works whether you’re planting your first bed or redesigning an established landscape. The twelve tips ahead break down exactly what to prioritize in each season, from the practical tasks that keep plants thriving to the creative moves that elevate your garden’s visual impact. You’ll learn to see your garden as a dynamic canvas that changes with the calendar, not a static project you tackle randomly on weekends.
How We Selected These Seasonal Gardening Tips
We curated these twelve seasonal gardening tips by listening to what actually works in real gardens, not just what looks good in theory. Each tip earned its place by meeting three essential criteria that reflect the GardenSculpt community’s values.
First, we prioritized effectiveness across different climate zones. Whether you’re gardening in zone 4 or zone 9, these techniques adapt to your local conditions. We didn’t include region-specific advice that would leave half our readers scratching their heads.
Second, accessibility mattered. You’ll find tips here for complete beginners planting their first bulbs alongside intermediate gardeners ready to tackle perennial division. No expensive equipment required, no advanced horticultural degrees needed.
Finally, we balanced practical maintenance with creative potential. Yes, you need to water and mulch, but we selected techniques that also enhance your garden’s artistic vision. These aren’t just chores, they’re opportunities to shape living sculptures that evolve through the seasons.
Spring: Awakening Your Garden
1. Start Seeds Indoors 6-8 Weeks Before Last Frost
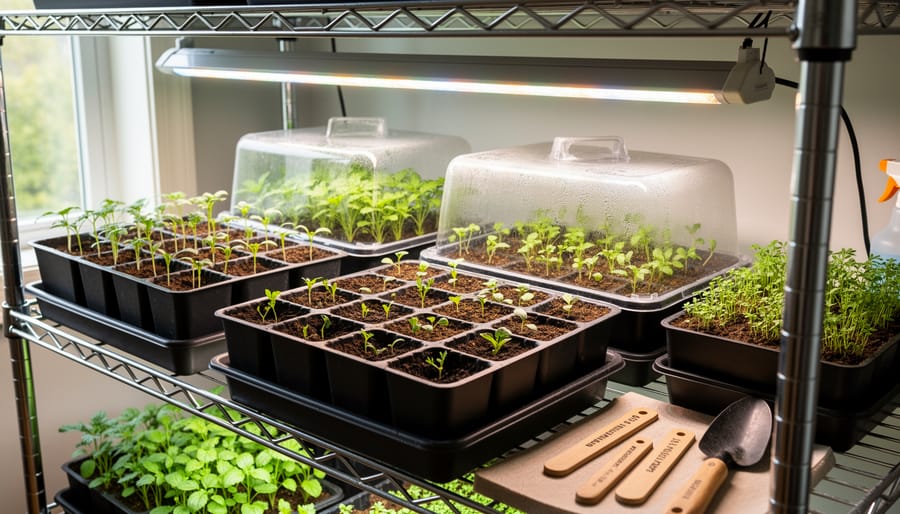
Starting seeds indoors gives you a serious jumpstart on the growing season, and it’s easier than most gardeners think. The basic approach is simple: count back from last frost in your area and sow six to eight weeks before that date. This timing works beautifully for tomatoes, peppers, eggplants, and most annual flowers, giving them the warm conditions they need to develop strong root systems before transplanting outdoors.
You don’t need fancy equipment to succeed. A sunny south-facing window works for many seedlings, though inexpensive LED grow lights eliminate the risk of leggy, stretched plants reaching for inadequate sunlight. Keep the soil consistently moist but not waterlogged, and maintain temperatures around 65-75°F for best germination.
Focus your indoor efforts on heat-loving vegetables and flowers with longer growing seasons. Cool-season crops like lettuce, peas, and radishes germinate quickly and prefer direct outdoor sowing. Tomatoes, basil, zinnias, and cosmos, however, transform from tiny seeds into garden-ready transplants on your windowsill, ready to hit the ground running when warm weather arrives.
2. Prepare Soil with Compost and Organic Amendments
Spring’s warm soil beckons you outdoors, but resist the urge to plant immediately. Your garden’s performance hinges on what you do now to revitalize the earth. A simple soil test reveals pH levels and nutrient deficiencies, showing exactly what your gardening soil needs. Most home testing kits provide quick results, and soil tests guide compost use far more effectively than guesswork.
Spread two to three inches of finished compost across beds and work it into the top six inches of soil. This rich amendment introduces beneficial microbes, improves drainage in clay, and helps sandy soils retain moisture. Think of compost as both food and architecture for your underground ecosystem.
For targeted nutrient needs, add organic amendments like bone meal for phosphorus, kelp meal for trace minerals, or greensand for potassium. These materials support plant fertilization naturally, releasing nutrients slowly as soil organisms break them down. Strong soil builds strong plants, transforming your space from dirt into the foundation for living art.
3. Prune Spring-Blooming Shrubs After Flowering
Timing matters more than technique when you prune spring bloomers after flowering. Shrubs like lilacs, forsythia, weigela, and rhododendrons set next year’s flower buds on new growth shortly after this season’s blooms fade. If you wait until late summer or fall to prune, you’ll sacrifice next spring’s show entirely.
The window opens as soon as the last petals drop. Grab your pruners within four to six weeks of flowering and you’ll catch these shrubs at their most forgiving stage. Remove dead or crossing branches first, then shape the overall form by cutting stems back to a healthy outward-facing bud or lateral branch. Don’t scalp them. Aim to remove no more than one-third of the total mass, focusing on the oldest, woodiest stems near the base to encourage fresh, vigorous growth.
This post-bloom approach does double duty: you preserve the flower buds already forming for next year while sculpting the shrub’s architecture into cleaner, more deliberate lines. A well-pruned forsythia becomes a golden fountain rather than a tangled thicket, and a shaped lilac anchors the garden with structure long after its blooms have faded.
4. Install Garden Structures and Hardscaping
Spring offers the perfect window for installing garden structures when you can see your space clearly and move freely. Before perennials emerge and vines sprawl, you can position trellises, arbors, and pathways without disturbing established plants or wrestling through dense foliage.
Think beyond pure function. An arbor becomes a living frame for climbing roses, while a well-placed trellis transforms a blank wall into vertical sculpture. Consider materials that age gracefully, copper develops a green patina, cedar weathers to silver, and natural stone acquires moss character over time.
Ground conditions in spring make installation easier. Soil is workable but not soggy, allowing you to dig post holes and set pavers without creating muddy chaos. This timing also lets you observe drainage patterns from spring rains, helping you route paths away from boggy spots.
Plan your hardscaping as permanent garden bones. A curved path draws the eye through the space, creating mystery and movement. Stepping stones become sculptural punctuation marks. Even practical structures like raised beds can serve as geometric focal points that give winter gardens visual interest when flowers fade.
Install now, plant later. Your summer garden will grow into these elements naturally, softening hard edges while the structures support your living artwork.
Summer: Maintaining Peak Performance
5. Water Deeply and Less Frequently
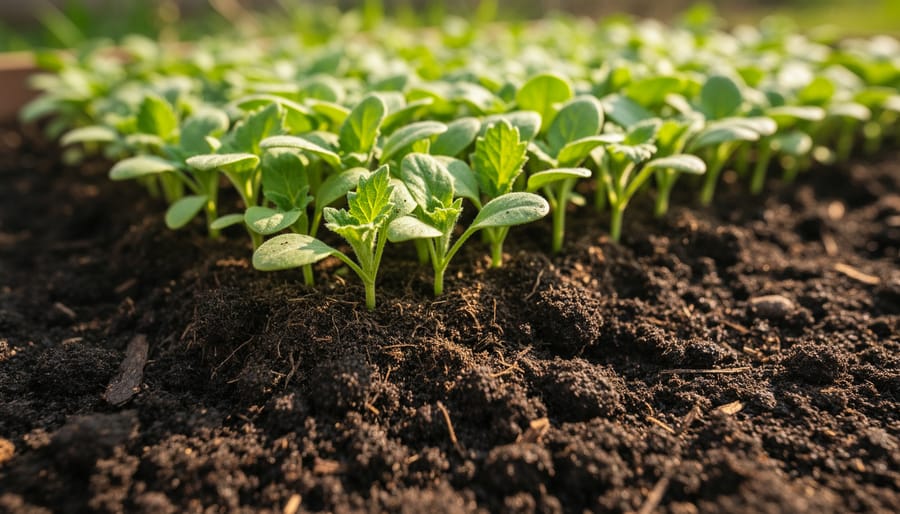
Summer heat tempts many gardeners to water every day, but this habit creates shallow roots that can’t sustain plants through dry spells. Instead, water deeply once or twice a week, saturating the soil 6-8 inches down. Your plants will respond by sending roots deeper, where moisture lingers and temperature fluctuates less dramatically.
The timing matters as much as the technique. Water early morning, between 5 and 9 AM, when evaporation rates drop and leaves can dry before nightfall, reducing disease risk. Evening watering works too, though some fungal problems thrive in prolonged dampness.
Apply a 2-3 inch mulch layer around plants to lock in that deep watering. Wood chips, shredded bark, or compost create a protective blanket that slows evaporation, keeps soil cooler, and feeds beneficial organisms as it breaks down. Pull mulch an inch back from plant stems to prevent rot.
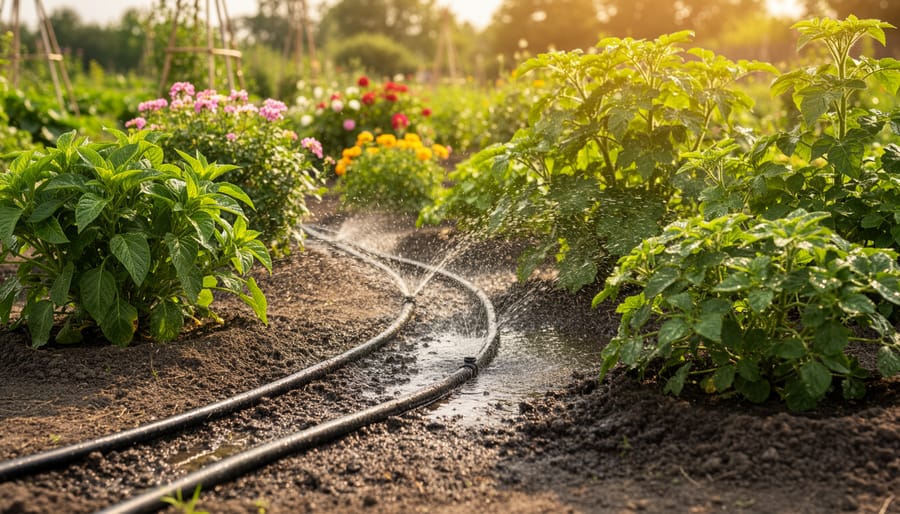
For smart garden watering that combines efficiency with beauty, consider drip irrigation or soaker hoses buried under mulch. These systems deliver water directly to root zones without wetting foliage, and they turn your watering routine into a simple twist of a timer rather than an hour-long chore with a hose.
6. Deadhead Flowers to Extend Blooming
Deadheading transforms your summer garden from a one-act show into a continuous performance. When you remove faded flowers before they set seed, you redirect the plant’s energy back into producing new blooms rather than seed production. It’s a simple trick that keeps many flowering plants blooming weeks or even months longer than they would naturally.
The technique itself is straightforward: pinch or snip off spent flowers just above the next set of healthy leaves or buds. For flowers on single stems like zinnias and cosmos, cut back to a leaf node where new shoots are forming. For cluster bloomers like salvia and yarrow, remove the entire spent flower stalk.
Deadheading champions include annuals like petunias, marigolds, and geraniums, which respond with explosive rebloom. Perennials such as coreopsis, catmint, and blanket flower also reward regular deadheading with fresh flushes of color. Roses deserve special mention, removing spent blooms every few days keeps them producing their sculptural beauty all summer.
Beyond the practical benefits, deadheading gives your garden beds a tidy, intentional appearance. Those brown, drooping flowers detract from your garden’s artistic composition, while consistent deadheading maintains the vibrant tapestry you’ve worked to create.
7. Mulch to Suppress Weeds and Regulate Temperature
A thick layer of mulch is your secret weapon against summer’s twin challenges: relentless weeds and soil that swings between scorching hot and bone dry. Spread 2-3 inches of organic mulch around your plants, and you create a physical barrier that blocks sunlight from reaching weed seeds while insulating the soil beneath. This protective blanket keeps roots 10-15 degrees cooler during heat waves and slows moisture evaporation by up to 70%.
For vegetable beds and annual plantings, shredded leaves or straw work beautifully and break down to feed the soil by season’s end. Perennial borders look stunning with hardwood bark chips, which last multiple years and create clean visual lines around your sculptural plantings. Around acid-loving plants like azaleas and blueberries, pine needles provide the perfect acidic boost while suppressing weeds.
Pull mulch back 2-3 inches from plant stems and tree trunks to prevent rot and discourage pests. As your mulch settles and decomposes through summer, top it up to maintain that crucial weed-blocking depth. The time you save weeding gets redirected into the creative garden work you actually enjoy.
8. Harvest and Preserve Garden Abundance
Summer’s peak brings the reward for all your earlier efforts: an abundance of vegetables, herbs, and flowers ready for harvest. The key is picking regularly. When you harvest tomatoes, beans, peppers, and squash at their prime, you signal the plant to keep producing rather than shifting energy into seed production. Check your vegetable beds every two to three days during peak season, those zucchini can go from perfect to baseball-bat-sized overnight.
For herbs, frequent trimming keeps plants bushy and prevents them from bolting. Snip basil, cilantro, and parsley from the top, never taking more than one-third of the plant at once. Morning harvests, right after dew dries, capture herbs at their most flavorful.
Don’t let excess go to waste. Simple preservation methods like freezing herbs in ice cube trays with olive oil, hanging flowers for dried arrangements, or making small batches of pesto turn abundance into year-round enjoyment. Even if you’re not a serious preserver, sharing extra harvests with neighbors builds community and ensures nothing goes to waste while keeping your garden producing at full capacity through late summer.
Fall: Preparing for Rest and Renewal
9. Plant Spring-Blooming Bulbs
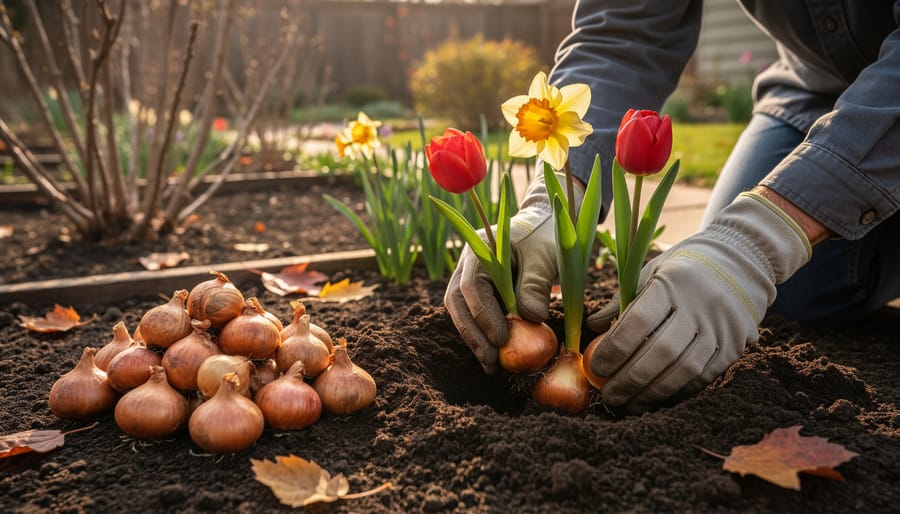
Fall offers the perfect conditions for planting spring-blooming bulbs. Cool soil temperatures trigger root development without premature top growth, giving bulbs several months to establish strong root systems before winter dormancy. This preparation ensures robust blooms when warm weather returns.
Think beyond straight rows when planting. Create naturalistic drifts by gently tossing bulbs across a bed and planting where they land, or design intentional color combinations by layering early, mid, and late bloomers. Pair sunny daffodils with rich purple grape hyacinths, or cluster tulips in odd-numbered groups for visual impact.
The general rule: plant bulbs at a depth three times their height. A two-inch tulip bulb needs a six-inch hole. Space larger bulbs like tulips and daffodils 4-6 inches apart, smaller varieties like crocuses 2-3 inches apart. For a lush display, plant closer than package recommendations suggest.
Consider adding bone meal to planting holes for phosphorus that supports root development. Water thoroughly after planting to settle soil and eliminate air pockets, then let nature handle winter watering.
10. Divide and Transplant Perennials
Fall’s cooler temperatures and increased rainfall create perfect conditions for dividing perennials. Plants have time to establish new roots before winter dormancy, then emerge stronger in spring.
Overcrowded perennials signal they’re ready for division when flowering decreases, centers die out, or clumps spread beyond their intended space. Hostas, daylilies, irises, ornamental grasses, and astilbes all thrive when divided every three to five years. The process rejuvenates plants and multiplies your stock at no cost.
Dig up the entire clump, then use a sharp spade or garden fork to separate it into sections with at least three to five healthy shoots each. Discard any woody or dead center portions. Replant divisions at the same depth they were growing, water thoroughly, and add a layer of mulch.
This is your chance to redesign garden beds without buying new plants. Use divisions to fill gaps, create matching borders on opposite sides of pathways, or establish entirely new planting areas. Keep some extras potted to share with gardening friends or trade for varieties you don’t have yet.
11. Protect Sensitive Plants Before First Frost
The arrival of the first frost doesn’t have to spell disaster for your garden’s tender treasures. Start by knowing which plants need protection, tomatoes, peppers, basil, coleus, begonias, and tropical specimens can’t tolerate freezing temperatures. Monitor local weather forecasts closely in late September through November, and plan to act when temperatures dip toward 32°F.
For in-ground plants, cover them with frost blankets, old bedsheets, or row covers before sunset on frost-predicted nights. Drape the fabric over stakes or hoops so it doesn’t touch foliage directly, which can transfer cold damage. Remove covers the next morning once temperatures rise above freezing. This simple step can extend your harvest by several weeks and keep ornamentals looking fresh longer.
Plants in gardening pots offer built-in flexibility, simply roll or carry them to a protected spot like a garage, covered porch, or against a south-facing wall when frost threatens. For heavier containers, use a dolly or place them on wheeled plant caddies at the season’s start for easier movement. This mobility lets you preserve your favorite specimens and bring them back out during warm spells, maximizing their season.
Winter: Planning and Passive Care
12. Design Next Year’s Garden and Order Seeds
Winter offers the perfect canvas for dreaming big. While the garden rests beneath snow or frost, grab a notebook and sketch your vision for next year’s outdoor masterpiece. Start by evaluating what worked this season and what fell flat, those leggy tomatoes or that shady corner that never quite thrived.
Browse seed catalogs like treasure maps, flagging varieties that spark joy or solve specific problems. Early ordering ensures you snag coveted heirlooms and unusual cultivars before they sell out. Consider companion plantings that create living sculptures, mixing heights and textures for visual drama. Think beyond vegetables: incorporate cutting flowers for indoor arrangements, pollinator magnets for ecological artistry, or grasses that add movement.
Sketch new bed layouts on graph paper, playing with curves and geometric patterns. Plan focal points like specimen plants or garden art installations. If you have lawn areas, map out creative mowing patterns to add structure between beds. This quiet planning phase transforms winter from downtime into the foundation of your most ambitious growing season yet.
Creating Your Year-Round Garden Masterpiece
Your garden is a living canvas that transforms with each season, and these 12 tips give you the brushstrokes to paint something extraordinary year-round. By working with nature’s rhythms rather than against them, you’re not just maintaining plants, you’re choreographing a performance that unfolds across months, where spring’s exuberant blooms give way to summer’s lush abundance, autumn’s rich textures, and winter’s sculptural beauty.
The magic happens when you stop seeing seasonal tasks as chores and start viewing them as creative opportunities. Each pruning cut shapes your garden’s architecture. Every bulb you plant in fall is a promise you’re making to spring. Those seeds you start indoors? They’re the beginning of a story that will develop through the growing season.
Remember that mastery comes from observation and adaptation. Your garden will teach you its particular rhythms, when the last frost typically arrives, which corners hold moisture longest, where late-afternoon sun creates the best backdrop for autumn grasses. Keep a simple garden journal to track these patterns, and you’ll build expertise that no app or guide can replace. The result is a space that reflects both nature’s genius and your own creative vision, evolving beautifully through every season.
Common Questions About Seasonal Gardening
Gardening questions pop up with every season shift, and many of them revolve around timing, adaptation, and whether you’re doing too much or too little. If you’ve wondered how to translate these seasonal tips into your specific situation, you’re not alone.
How do I know when to start these seasonal tasks in my climate zone?
Use your USDA hardiness zone and last/first frost dates as anchors, your local extension office provides these free. Then shift task timing by roughly two weeks earlier for each zone warmer, or two weeks later for each zone colder, than the general guidelines.
Can I apply these seasonal gardening tips to container gardens?
Absolutely. Container gardens follow the same seasonal rhythms but need more frequent watering in summer and may require moving pots to protected spots in winter. The soil preparation, deadheading, and bulb planting tips work perfectly in containers with minor adjustments for scale.
Do I need to follow all 12 tips as a beginner?
Start with what matters most for your garden’s success: soil preparation in spring, consistent watering in summer, and basic frost protection in fall. You can layer in the creative touches like garden structures and artistic bulb plantings as you gain confidence.
What’s the best way to track seasonal garden tasks throughout the year?
Keep a simple garden journal noting what you did and when, along with photos of successes and challenges. Many gardeners use their phone’s calendar to set seasonal reminders, while others prefer a dedicated notebook that becomes a personalized guide over the years.
Should I adjust these tips for raised beds versus in-ground gardens?
Raised beds warm up faster in spring, so you can often start planting earlier, but they also dry out quicker in summer and may need extra mulch. The fundamental seasonal rhythms stay the same, just monitor soil moisture more closely in raised beds.
The beauty of seasonal gardening lies in its flexibility. These tips form a framework, not rigid rules. Your garden will teach you its own rhythm as you observe how plants respond to your climate, soil, and care. Pay attention to what works, adjust what doesn’t, and trust that each season brings another chance to refine your approach and deepen your connection to the growing cycle.